FAQ
FAQ
Coming Soon...

How To: Wood Floor Installation
Installing a wood floor is a rewarding project that can enhance the beauty and value of your space. Here's a step-by-step guide on how to install a wood floor:
Acclimate the Wood: Allow the wood planks to acclimate to the room's temperature and humidity for a few days before installation. This ensures that the wood adjusts to the environment.
Prepare the Subfloor: Ensure the subfloor is clean, level, and free of any debris or imperfections. Repair any damages and ensure a smooth surface for the wood installation.
Lay the Moisture Barrier: Install a moisture barrier or underlayment on the subfloor to protect the wood from moisture and prevent squeaks.
Plan the Layout: Plan the installation layout, considering the direction of the wood grain, room transitions, and aesthetic preferences.
Start Installation: Begin in one corner of the room and lay the first row of wood planks, ensuring a tight fit against the wall. Use a pneumatic nailer or flooring stapler to secure the planks to the subfloor.
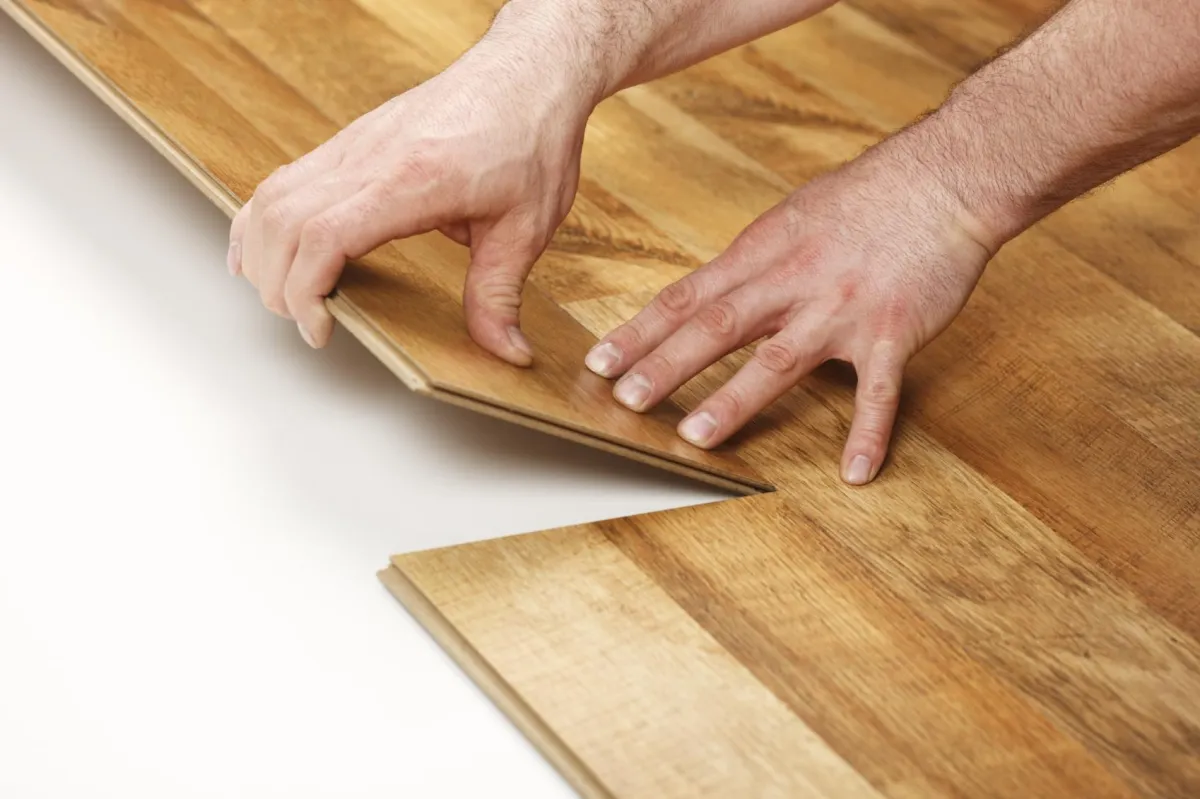
Continue Installation: Install subsequent rows of wood planks, staggering the joints for stability and an appealing visual effect. Use a tapping block and mallet to ensure tight connections between planks.
Trim and Cut: Measure and cut the wood planks as needed to fit around obstacles like doorways or vents. Use a miter saw or circular saw for precise cuts.
Complete the Installation: Complete the installation by fitting the final row of wood planks against the wall. Install baseboards or trim to cover any expansion gaps around the perimeter.
Remember to follow the manufacturer's instructions for your specific wood flooring product. If you are unsure or prefer professional assistance,contact Premier Flooring Experts who can ensure proper installation and a flawless finish.
Coming Soon...

How To: Wood Floor Installation
Installing a wood floor is a rewarding project that can enhance the beauty and value of your space. Here's a step-by-step guide on how to install a wood floor:
Acclimate the Wood: Allow the wood planks to acclimate to the room's temperature and humidity for a few days before installation. This ensures that the wood adjusts to the environment.
Prepare the Subfloor: Ensure the subfloor is clean, level, and free of any debris or imperfections. Repair any damages and ensure a smooth surface for the wood installation.
Lay the Moisture Barrier: Install a moisture barrier or underlayment on the subfloor to protect the wood from moisture and prevent squeaks.
Plan the Layout: Plan the installation layout, considering the direction of the wood grain, room transitions, and aesthetic preferences.
Start Installation: Begin in one corner of the room and lay the first row of wood planks, ensuring a tight fit against the wall. Use a pneumatic nailer or flooring stapler to secure the planks to the subfloor.
Continue Installation: Install subsequent rows of wood planks, staggering the joints for stability and an appealing visual effect. Use a tapping block and mallet to ensure tight connections between planks.
Trim and Cut: Measure and cut the wood planks as needed to fit around obstacles like doorways or vents. Use a miter saw or circular saw for precise cuts.
Complete the Installation: Complete the installation by fitting the final row of wood planks against the wall. Install baseboards or trim to cover any expansion gaps around the perimeter.
Remember to follow the manufacturer's instructions for your specific wood flooring product. If you are unsure or prefer professional assistance,contact Premier Flooring Experts who can ensure proper installation and a flawless finish.
